


Make do & mend: How to sew on a button
There are a few simple little fixes that can give well worn clothes a brand new lease of life.
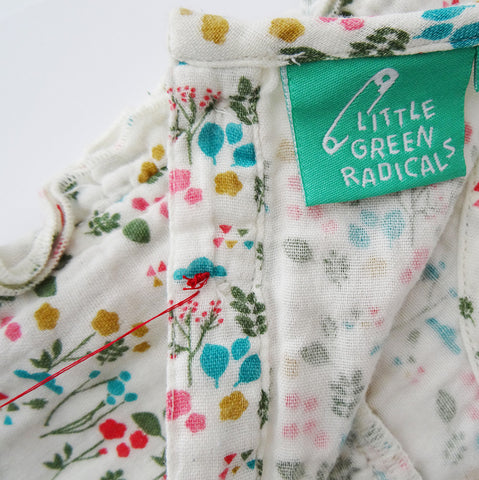
One easy repair is to replace a missing a button. Our friend Julia from @upcyclefashion has created a step-by-step guide showing how to sew on a button so an older child, (or you!) can have a go at mending a damaged garment so it can be worn again, and again.
What you'll need:
- a spare button
- some sharp scissors
- needle and thread
- a little helper if you have one!
How to sew on a button
1. Get your replacement button ready.

2. Choose your thread colour and thread your needle making a strong knot at the end.

3. Position the button on the garment. Make sure its aligned to the rest of the
buttons. Push the needle through the hole from back to front.

4. Thread the needle all the way through and ensure the finishing knot is holding well.

5. Now, push the needle down on the hole diagonal to the first one you chose.
Make sure the thread goes all the way through and out the other side.

6. Thread the needle through the same hole you started with and pull it all the way through.

7. Pass the needle on the same diagonal hole as before.
Threading the same holes twice we ensure the button doesn't move around.

8. Once two diagonal holes are ready, thread the needle once more on the next empty button hole and thread it all the way through.

9. Push the needle diagonally through the opposite hole and pull all the way through.
Make sure to do a few more threads on each side to ensure the button is held on tightly. ...

10. Once finished, make a small knot on the back side of the button and give it a little pull.
If you can feel the button is tightly placed then it is ready.

Now your button is properly sewn on and you can wear your mended piece over and over again!

..

Show us your shiny new buttons @littlegreenradicals!


